
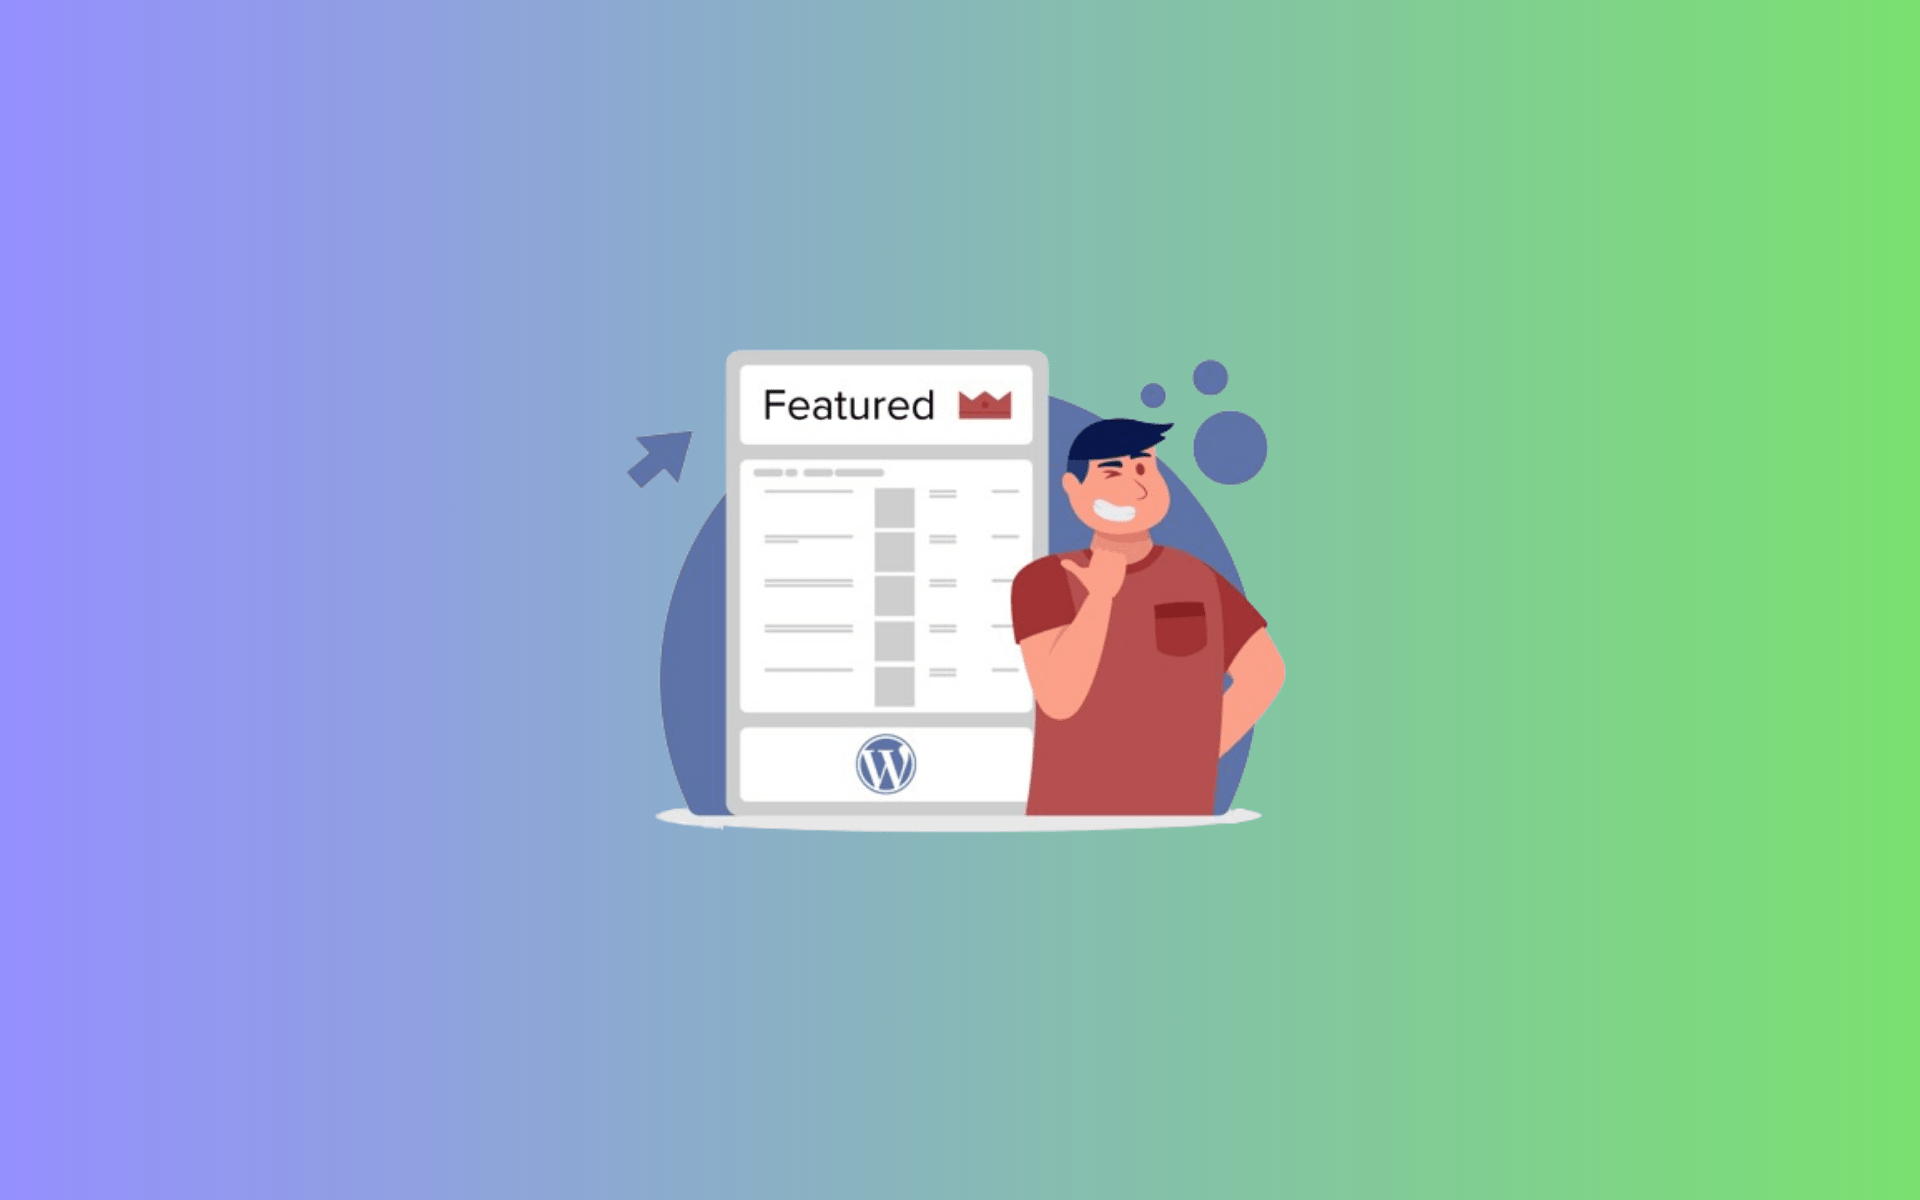
WordPress, a versatile and widely used content management system (CMS), offers a plethora of tools and features to create captivating websites. However, for those venturing into the realm of WordPress web development, mastering the fundamental elements like containers and columns is essential for crafting visually appealing and user-friendly layouts.
This guide meticulously outlines each step on how to convert from container to column wordpress, ensuring a smooth and error-free experience.
Understanding Containers and Columns in WordPress

Containers and columns play pivotal roles in shaping the layout and structure of a WordPress website. To grasp their significance, it’s essential to define each element.
Containers serve as virtual boundaries encapsulating content within a designated space. They act as frames, providing structure and organization to the diverse elements present on a webpage.
On the other hand, columns contribute to the horizontal organization of content. Think of columns as the grid system, allowing for the systematic arrangement of text, images, and other elements across the width of a page.
In essence, containers and columns work in tandem, with containers framing content and columns orchestrating the spatial arrangement, collectively creating a visually cohesive and well-structured WordPress site.
Distinguishing Between Container and Column Layouts in WordPress

The disparities between a container and a column layout in WordPress lie in their fundamental structures and functionalities. A container, acting as a virtual frame, encapsulates content within a defined space, limiting flexibility in content placement. Conversely, a column layout facilitates a more dynamic and horizontally organized content structure. To illustrate these distinctions concisely, the table below provides a quick reference guide:
| Aspect | Container Layout | Column Layout |
| Structure | Encloses content in a defined space | Organizes content horizontally |
| Flexibility | Limited flexibility in content placement | Enables versatile content arrangements |
| Responsive Design | May pose challenges for responsiveness | Enhances responsiveness on various devices |
Reasons to Shift from Container to Column Layout in WordPress

Switching from a container to a column layout in WordPress offers a host of compelling advantages that can significantly enhance the overall aesthetics and functionality of your website.
One primary motive is the substantial improvement in responsiveness. A column-based structure facilitates a more fluid adaptation to various screen sizes and devices, ensuring a seamless and visually appealing experience for users accessing your site on desktops, tablets, or smartphones.
Furthermore, the transition to a column layout provides heightened flexibility in content presentation. Unlike containers, columns enable versatile arrangements of text, images, and other elements, allowing for a more dynamic and engaging visual appeal. This flexibility not only caters to aesthetic preferences but also enhances the readability and user experience, making your content more accessible and engaging for a diverse audience.
11 Steps to Converting from Container to Column in WordPress

Embarking on the journey to transition your WordPress layout from a container-based structure to a column-based design involves several key steps. Follow this seamless process for a modernized and optimized website appearance:
Step 1: Safeguard Your Site with a Backup
Before making any significant changes to your WordPress website, it’s crucial to create a comprehensive backup. This involves saving a copy of your current website state, ensuring that if anything goes awry during the conversion process, you have a secure point to revert to. You can use any backup plugin for this step.

Step 2: Navigate to Your WordPress Theme Files
Accessing your WordPress theme files is the first technical step in the process. This involves entering the backend of your WordPress site and locating the theme files, where you’ll be making modifications to transition from a container to a column layout. Translate HTML to WordPress template files. To convert HTML to WordPress theme involves creating files such as header.php, footer.php, index.php, and others based on your HTML template.

If your HTML template utilizes Bootstrap and you wish to integrate it into WordPress, ensure that you convert bootstrap to wordpress properly and integrate it into your theme.
Step 3: Pinpoint the Specific Container Element
Identifying the exact container element that needs to be transformed is a precision-oriented step. This involves inspecting your website’s structure and pinpointing the specific component that you want to change from a container to a column.
Step 4: Introduce CSS Classes for Column Design
CSS (Cascading Style Sheets) classes are introduced to define the visual appearance of your newly configured columns. This step involves adding styling elements that control the layout, size, and spacing of your columns, aligning them with your overall design vision.
Step 5: Craft the Visual Aesthetics of Your Column Structure
Once the technical aspects are in place, this step focuses on the creative side. Craft the visual aesthetics of your column structure to ensure a cohesive and visually appealing layout. Consider factors such as color schemes, typography, and overall design consistency with the rest of your website.
Step 6: Update Content Within the New Column Structure
With the structural and design changes in place, it’s time to update the content within the newly configured column structure. Ensure that text, images, and other elements seamlessly fit into the new layout, maintaining a visually pleasing and organized presentation.
Step 7: Thoroughly Test Responsiveness
Testing the responsiveness of your website across various devices is critical. Ensure that the transition to a column layout doesn’t compromise the user experience on different screen sizes, including desktops, tablets, and smartphones.
Step 8: Save Your Progress
Commit the changes made to your WordPress theme files by saving your progress. This ensures that the alterations are secured, and your website is ready for the next stages of the conversion.
Step 9: Clear Caches for Prompt Updates
Clearing caches is necessary to ensure that visitors see the latest changes promptly. Caches store previously loaded versions of your site, and clearing them ensures that users encounter the updated column layout without delay.
Step 10: Preview and Address Any Issues
Before making the changes live, preview your website thoroughly. Address any potential issues or discrepancies in the layout, design, or functionality. Debugging at this stage ensures a smooth and flawless user experience post-conversion.

Step 11: Document the Transformation
Documenting the changes made during the conversion process is a best practice. This documentation serves as a reference for troubleshooting, future updates, and collaboration with other developers, ensuring a well-documented and organized transformation process for your website.
Conclusion: How to Convert from Container to Column WordPress
converting from a container to a column layout in WordPress is a strategic move towards a more visually appealing and user-friendly website. By following this step-by-step guide on how to convert from container to column WordPress, you can seamlessly transform your site’s structure, enhancing its overall design and responsiveness. Stay attuned to the evolving trends in web design, and let your website reflect the dynamic nature of the digital landscape.


